

Introduction 🏁
The world around us is in a great and huge evolution some examples of this evolution are the evolution in health, industry, transportation, etc... another example of this evolution is the evaluation of Online shopping. Many people are now shopping through the Internet and buying most of their supplies on the Internet without the need to leave their homes. Get off is for bus, work, taxi, etc...
The Problem 😞
Online shopping has disadvantages, for example, How many times have you bought a piece of clothes and been shocked that the product you purchased was not as described on the online site or that the size you bought was not the accurate size, how many times have you wished that you were able to switch between the colors and shapes of the clothes Even if you are in a real clothes store ... Here comes the role of ✨TopShop✨
What is TopShop? 🛒
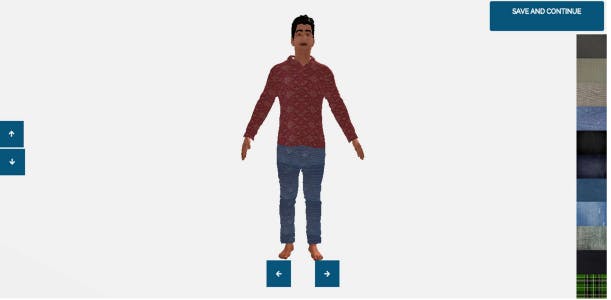
TopShop is a 3D Virtual Dressing Room that aims to help the customefacilitateng the process of buying clothes through the Internet by viewing a 3D model of the product before purchasing it, and he can choose from different colors of the product and see the benefits of using the 3D modeling in representing the product as it will look in real life.
Technology 🖥️
WebGL
Three.js
Blender
JavaScript
Bulma
Sass
Gulp
AWS Amplify
Demo 🎬
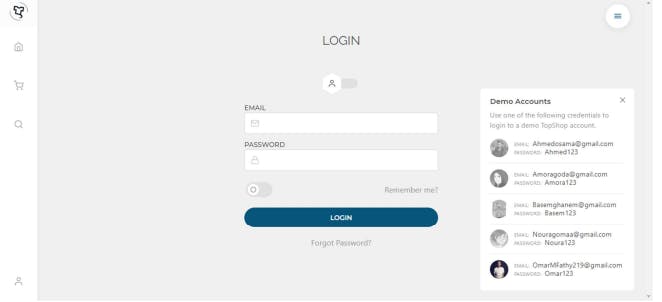
Here user can log in to the website or he can use any one of the demo accounts we listed previously just click on it 😉 you can try the demo from here or here
About 3D Model
I will explain how the model is set up in Blender, and if you’d like to create something of your own, change a free model you found somewhere online, or instruct someone you’re commissioning. Here’s some information about how our 3D model is authored.
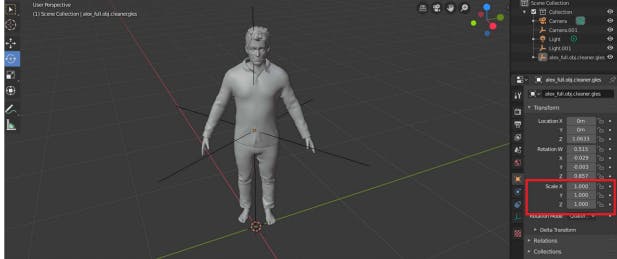
Scale
The scale is set to approximately what it would be in the real world.
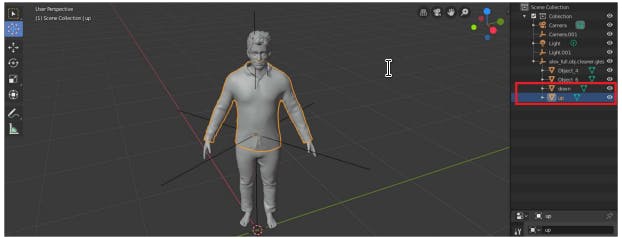
Layering and naming conventions
This part is important: each element of the object you want to customize independently needs to be its object in the 3D scene, and each item needs to have a** unique name**. Here we have “up” and “down”. Note that if you have said, three items all called up, Blender is going to name them as up, up.001, up.002. That doesn’t matter, because in our JavaScript we’ll be using includes(“up”) to find all of those objects that contain the string up in it.
File Format
Three.js supports a bunch of 3D object file formats, but the one it recommends is glTF (.glb). Blender supports this format as an export option, so no worries there.
Three.js
Loading the model
We’re going to add the function that loads in models, this is provided by the second dependency we added in our HTML.
Before we do that though, let’s reference the model, we’ll be using this variable quite a bit. Add this at the top of your JavaScript, above your BACKGROUND_COLOR. Let’s also add a path to the model. I’ve hosted it for us, it’s about 1Mb in size.
var theModel;
const MODEL_PATH ="https://s3-us-west-2.amazonaws.com/s.cdpn.io/1376484/model.glb";
Now we can create a new loader and use the load method. This sets theModel as our 3D models' entire scene. We’re also going to set the size for this app, the right size seems to be about twice as big as it’s loaded. Thirdly, we’re going to offset the y position by -1 to bring it down a little bit, and finally, we’re going to add the model to the scene.
The first parameter is the model’s filepath, the second is a function that runs once the resource is loaded, the third is undefined for now but can be used for a second function that runs while the resource is loading, and the final parameter handles errors.
Camera 📷
// Init the object Loader
var loader = new THREE. GLTFLoader();
loader.load(MODEL_PATH, function(gltf) {
theModel = gltf.scene;
// Set the models initial scale
theModel.scale.set(2,2,2);
// Offset the y position a bit
theModel.position.y = -1;
// Add the model to the scene
scene.add(theModel);
}, undefined, function(error) {
console.error(error)
});
Lights 💡
// Add Lights
var hemiLight = new THREE.HemisphereLight(Oxffffff, 0xffffff, 0.61);
hemiLight.position.set(0, 50, 0);
// Add hemisphere light to scene
scene.add(hemiLight);
var dirlight = new THREE.DirectionalLight(Oxffffff, 0.54);
dirLight.position.set(-8, 12, 8);
dirLight.castShadow = true;
dirLight.shadow.mapSize = new THREE.Vector2(1024, 1024);
// Add directional Light to scene
scene.add(dirLight);
Controls 🛠
// Add controls
var controls = new THREE.OrbitControls(camera, renderer.domElement);
controls.maxPolarAngle = Math.PI/ 2;
controls.minPolar Angle = Math.PI/ 3;
controls.enableDamping = true;
controls.enablePan = false;
controls.dampingFactor = 0.1;
controls. autoRotate = false;
// Toggle this if you'd like the model to automatically rotate
controls.autoRotateSpeed = 0.2;
to Learn more check the documentation here or manual from here
Amplify Hosting ☁️
Why should I use it? 🤔
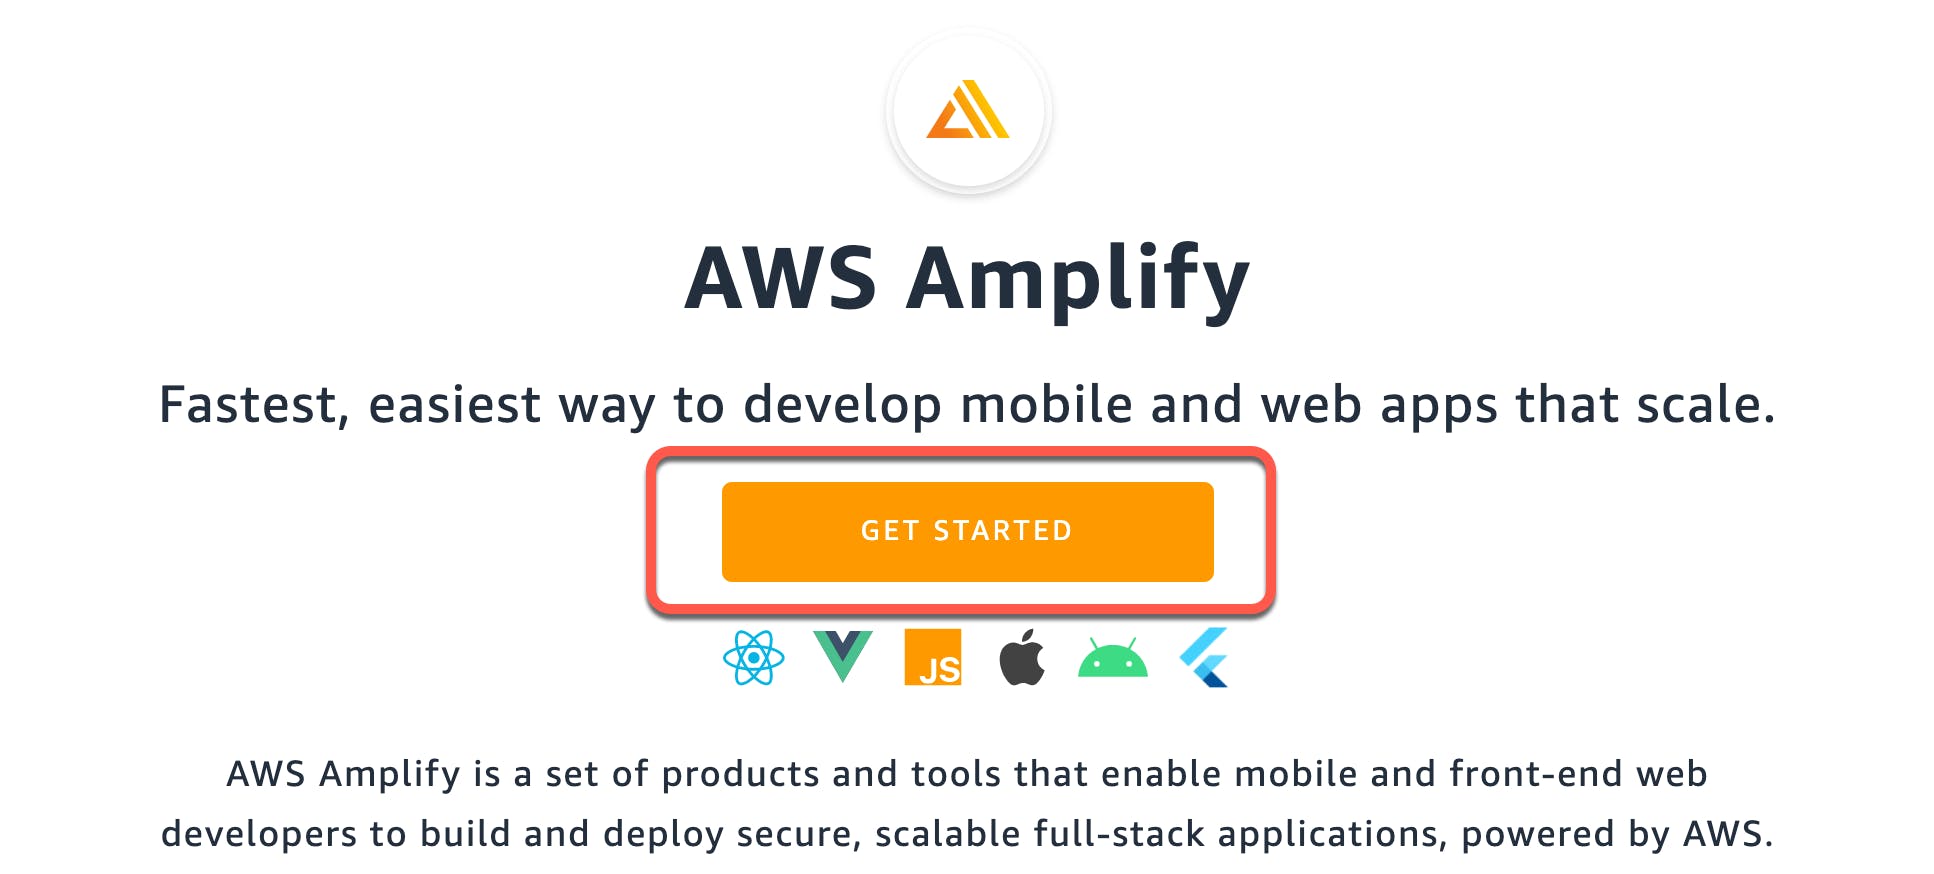
AWS Amplify is a complete solution that lets frontend web and mobile developers quickly build, ship, and host full-stack applications on AWS, with the flexibility to leverage the breadth of AWS services as use cases evolve. No cloud expertise is needed.
To get started, log in to the Amplify console. If you are starting from the AWS Amplify home page, choose to Get Started at the top of the page.
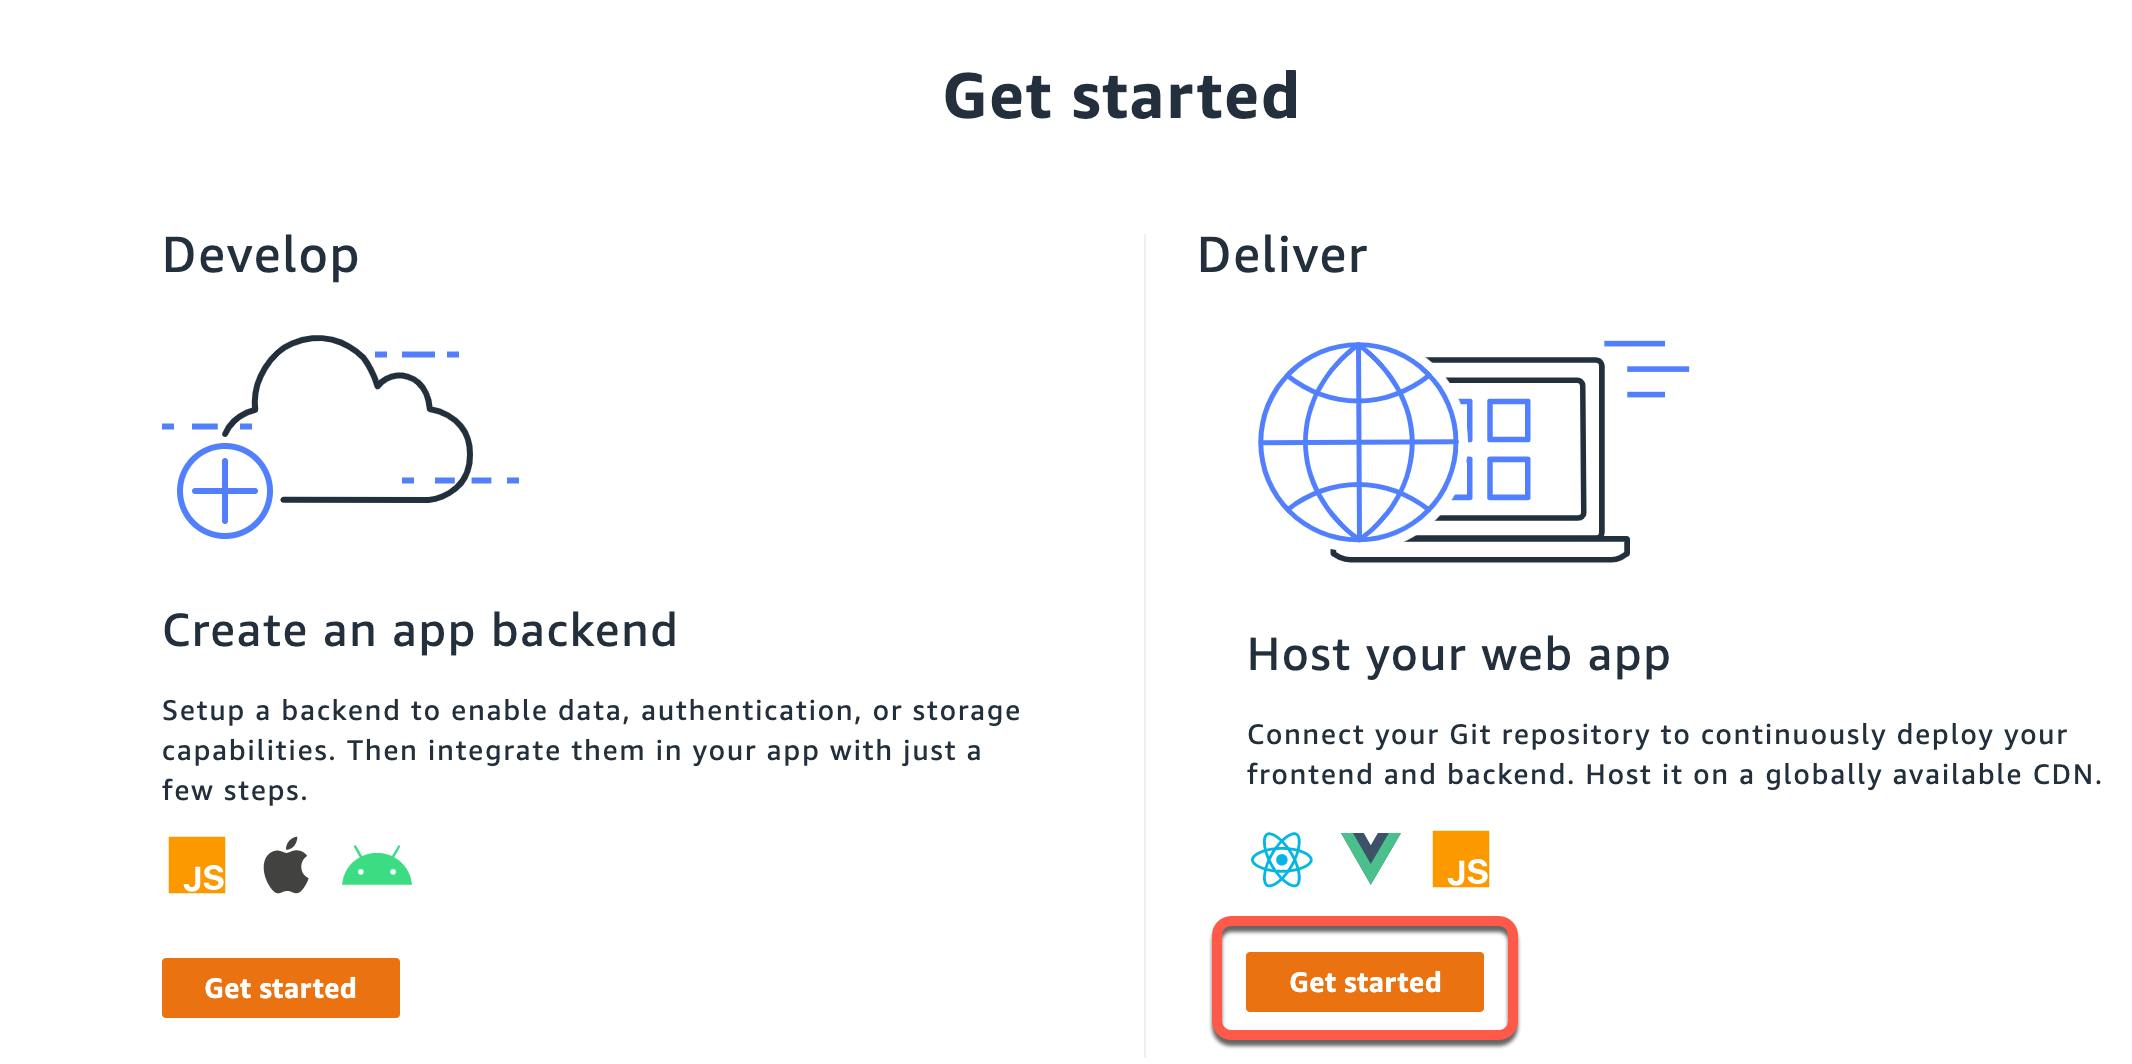
Then choose to Get started under Deliver.
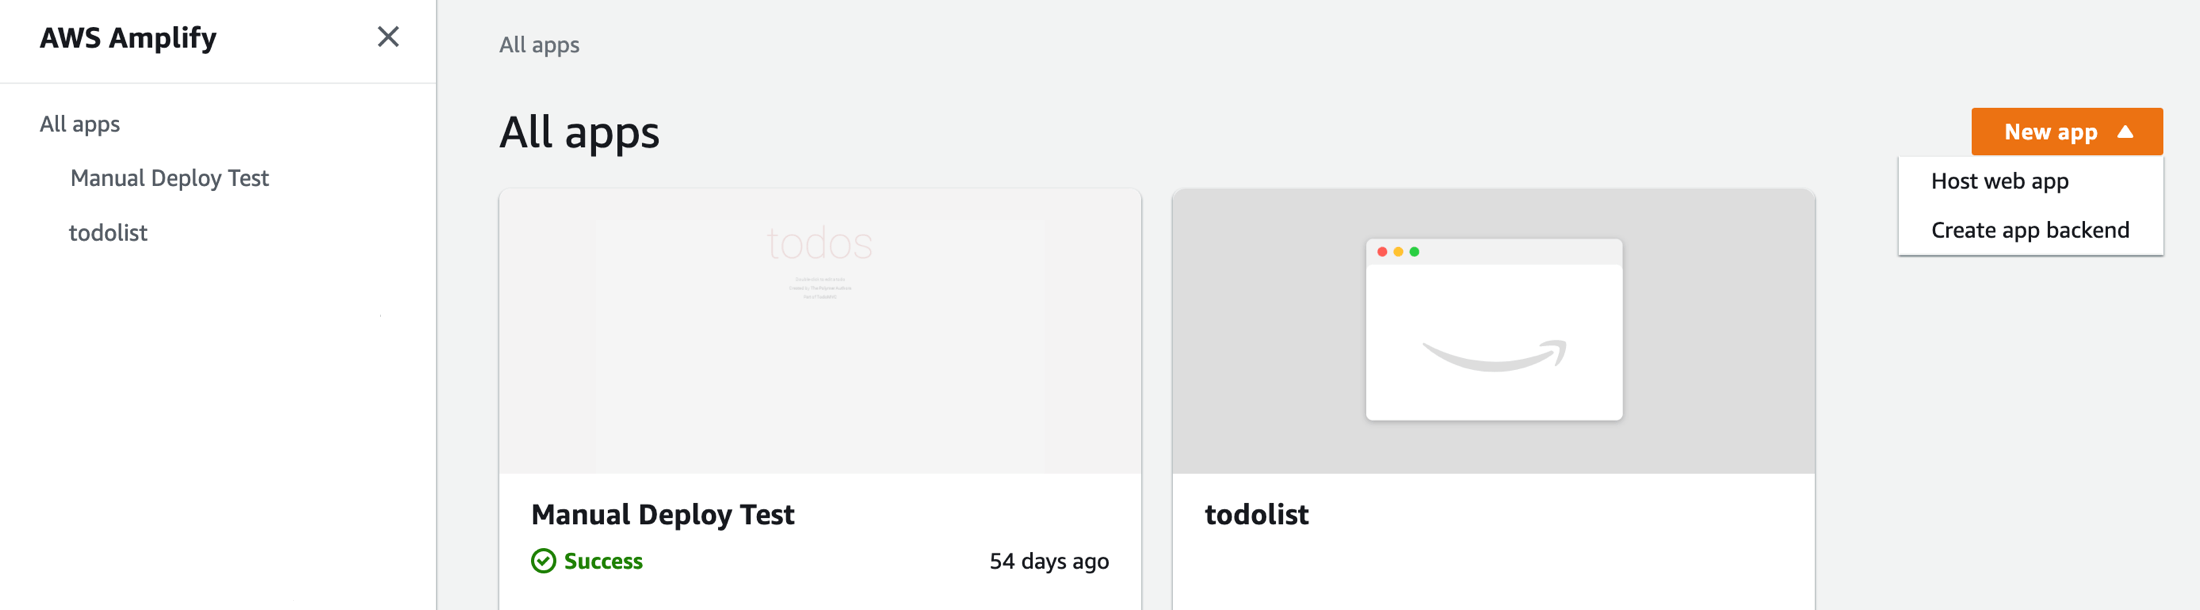
If you are starting from the All apps page, choose New app, then Host web app in the upper right corner.
you can manually deploy an app using drag and drop

but we will use our GitHub repo
Step 1: Connect a repository 🗃
Connect your GitHub, Bitbucket, GitLab, or AWS CodeCommit repository. After you authorize the Amplify console with Bitbucket, GitLab, or AWS CodeCommit, Amplify fetches an access token from the repository provider.

Step 2: Confirm build settings for the front end 🛠
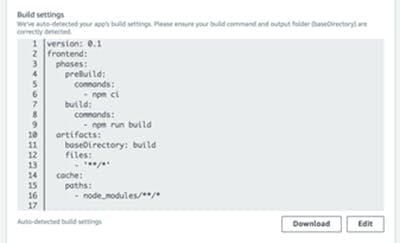
Important: Verify that the build commands and build output directory (that is, artifacts > baseDirectory) are accurate. If you need to modify this information, choose Edit to open the YML editor. You can save your build settings on our servers, or you can download the YML and add it to the root of your repo.
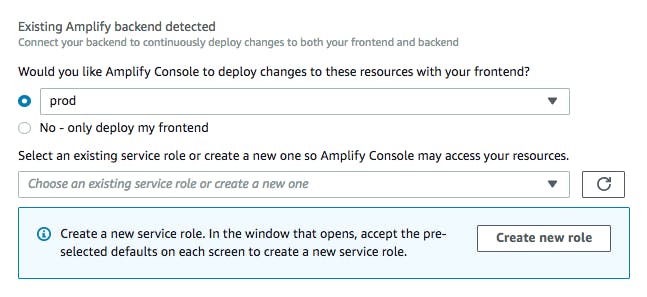
Step 3: Confirm build settings for the backend ⚙️
To deploy backend functionality using the Amplify CLI during your build, create or reuse an AWS Identity and Access Management (IAM) service role. IAM roles are a secure way to grant Amplify permissions to act on resources in your account. For detailed instructions, see Adding a service role.
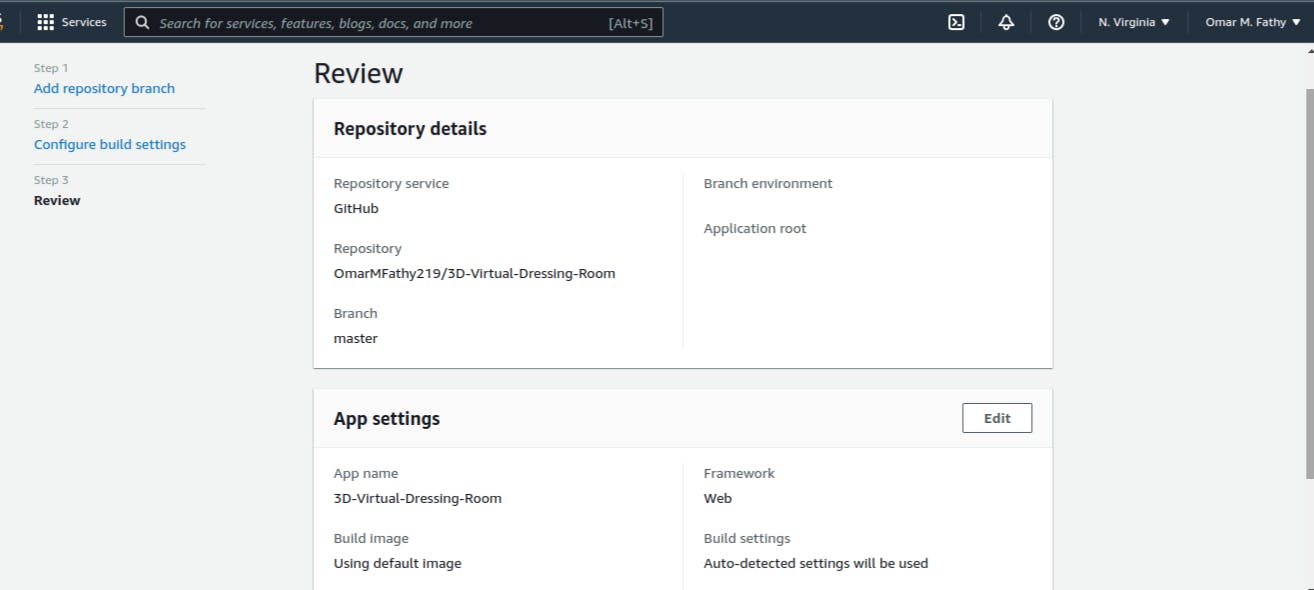
Step4: Save and deploy 💾
Review all of your settings to ensure everything is set up correctly. Choose Save and deploy to deploy your web app.
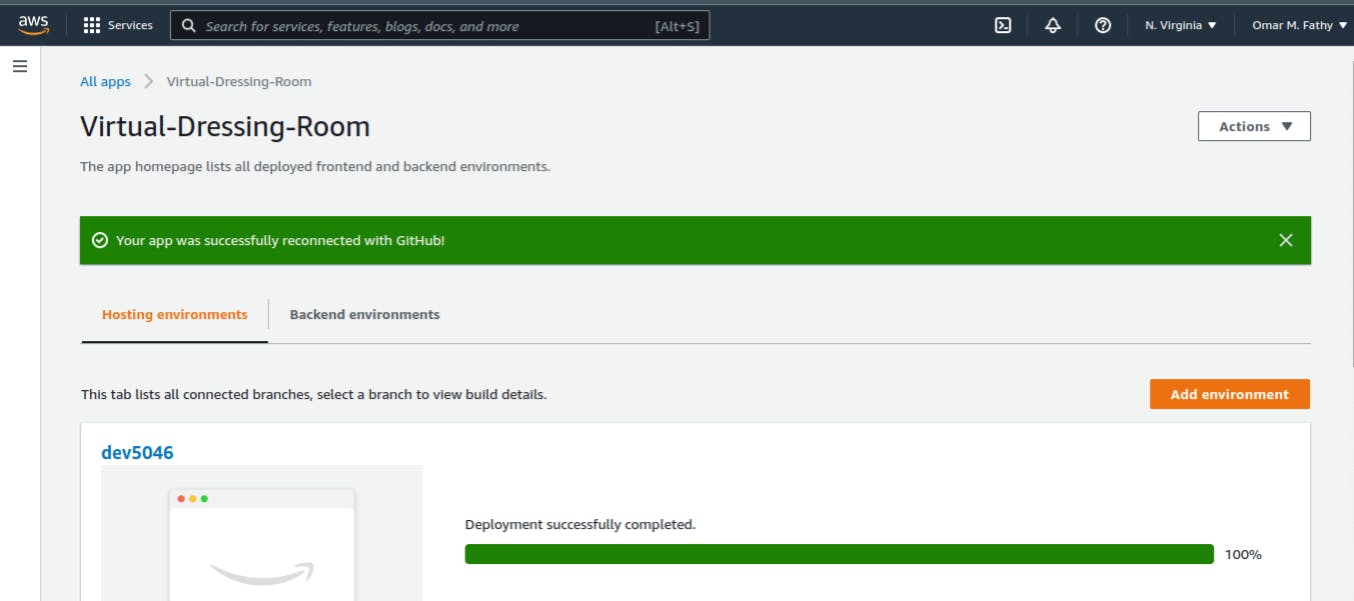
Access the build logs screen by choosing a progress indicator in the branch section. A build has the following stages:
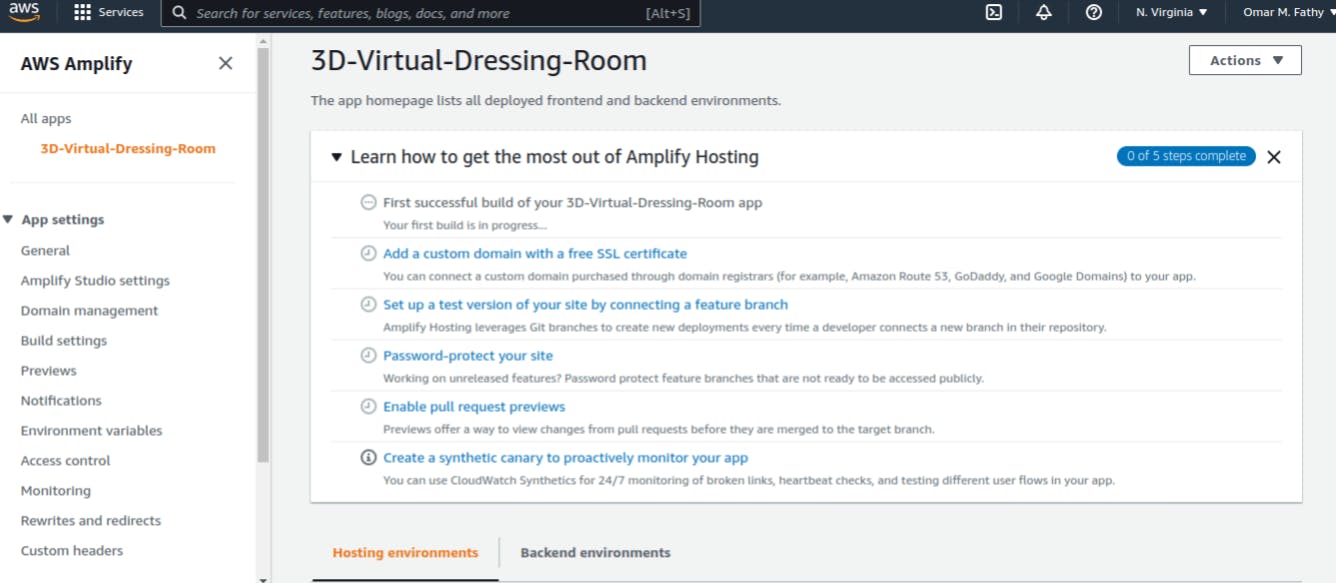
Now your app is built and deployed 🎉🎉🎉

Of course, this is just a simple example of hosting a web app using AWS Amplify, but there is a lot that you can do, so you can learn more throughthis demo and you can use Amplify Studio to easily build and ship complete web and mobile apps in hours. With Amplify Studio, you can quickly build an app backend, create a rich user interface (UI) React components, and connect a UI to the backend in clicks.